How to Clean an Inboard Boat Engine After Saltwater Use (9 Steps)
Boating is a ton of fun. Time spent on a boat with family and friends is where lifelong memories are made. If you were lucky enough to have a friend with a boat or your parents owned a boat, you got to see firsthand what type of work went into keeping it clean. Now, you’re the friend with the boat, and the work is yours to do.
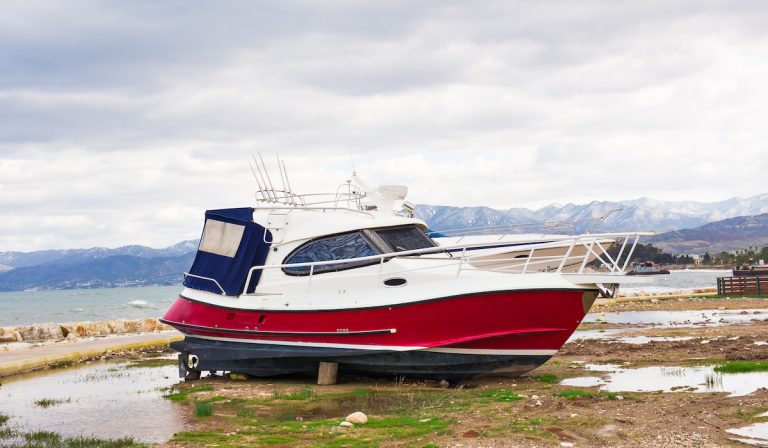
Being on the ocean is wonderful, but saltwater wreaks havoc on boats and anything else near the water. Part of keeping your boat in great condition is preventing the harmful effects of saltwater on surfaces, the interior, and the engine.
If you’ve got an inboard engine, cleaning is a bit more of a challenge, but it’s a must-do chore if you want to ensure good long-term performance and protect your boat’s resale value.
Cleaning your inboard engine is vital to keeping grease and dirt in check. If you let things go for too long, it will affect how well your motor runs and you could run into expensive repairs down the road that could have been avoided. Proper cleaning makes everything last longer and works better.
Here are 9 steps on how you can clean your inboard boat engine after you’ve been in the saltwater.
9 Steps to Cleaning Your Inboard Marine Engine
Cleaning your inboard engine takes a lot of work. The main issue is that the engine is in a fixed location. When you move it to clean it, the boat has to come along too.
Cleaning it in the water could release all of that grease, motor oil, and grime into the water and pollute your marina or wherever else you’re doing it.
So, if you want to clean it right, here’s what you need to do:
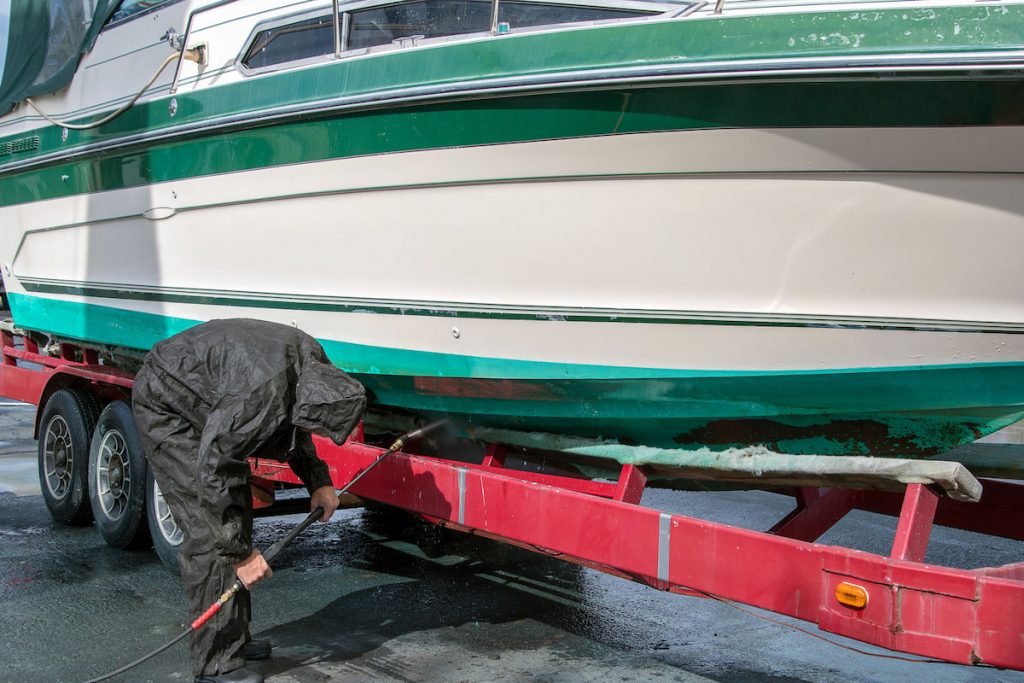
Step 1 – Get Your Boat Out of the Water
Pull the boat out of the water and move it to a spot that’s suitable for cleaning. The main thing you want to avoid is having any grease or chemicals run into the water.
To do this, put enough distance between you and the water to be sure. Of course, this is going to be a lot harder depending on how big your boat is.
Step 2 – Get the Right Cleaning Materials
The last thing you want to do is ruin your inboard engine because you used the wrong chemicals and cleaning materials. This is the most basic step as you prepare to do the cleaning. Here are the very basic supplies you’ll need:
- Screwdriver (or other tools required to remove covering)
- Rubberbands
- Rags
- Plastic Bags
- Engine Degreaser
- Buckets
- Water
If you have a certain type of boat, you may need something else here and there. To be safe, read through your boat manufacturer’s recommendations on cleaning the engine and make sure to follow those.
Step 3 – Get Set Up Correctly
Put a bucket under any point where water or your cleaning solutions will come out of the engine. It will stop it from hitting the ground and make it easier to dispose of once you’re done.
Step 4 – Prep the Area
Things are going to get wet, and they may get a bit dirty. You’re going to want to protect anything sensitive in the area with plastic bags and rubber bands. Cover things like the ignition and other electronic parts with the plastic bags and then wrap the bands around them to keep them nice and snug.
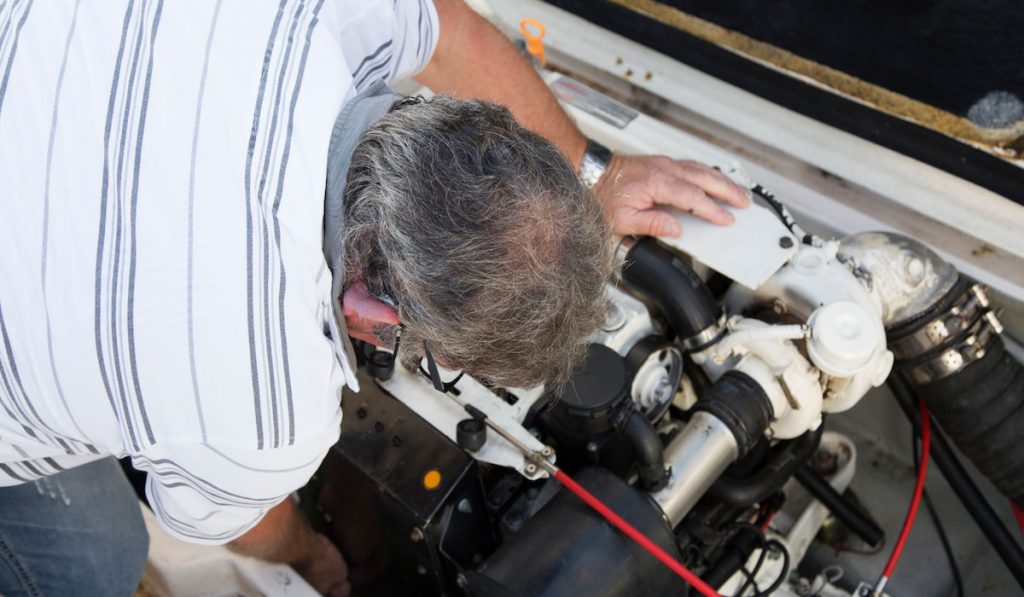
Step 5 – Apply the Degreaser

Degreaser usually comes in a spray bottle. Spray it liberally all over your engine and let it sit for several minutes or longer if indicated on the bottle. This gives it time to break down the grease hanging onto your engine.
Step 6 – Go After Stubborn Debris
The engine degreaser will do plenty of good work, but there are bound to be some chunks of grease or dirt that are more stubborn and won’t fall off on their own.
You’ll need to use a screwdriver or some other type of instrument like a butter knife to go after them and knock them out of the engine. Use appropriate force because you don’t want to break or scratch anything.
Step 7 – Flush with Freshwater
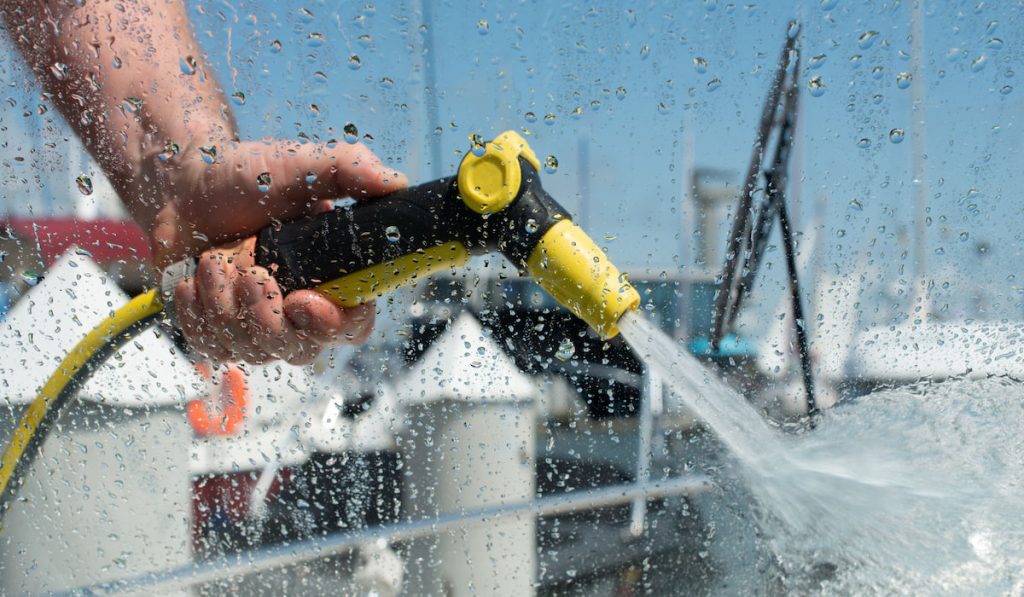
Flushing your inboard boat engine after every saltwater use will protect your water from the harmful effects of salt. When your boat is out of the water, you can attach a freshwater hose to the engine’s cooling intake pipe. Run fresh water through the engine for at least five minutes after it has been in the ocean.
Flushing is best done as soon as possible once you’re out of the water. It may not be something you can always do at the marina, but once you get home it should be high on your priority list to prevent any of the corroding effects of salt sitting in your engine.
Step 8 – Buy an Engine Flushing Kit
There are a lot of kits available online designed to rid your inboard engine of any salt. Many of them come with convenient hose attachments and pipes that make things super simple.
All you have to do is attach the kit pieces to the hose and then put the hose onto the cooling intake pipe and it will do the rest for you.
Step 9 – Think About a Trip Upstream
If you live on the coast, freshwater may not be all that far away. You may be able to take a short trip and then flush your boat’s engine while you’re having fun on the water!
Running your engine in freshwater does basically the same thing as using any sort of salt kit, so this is a great option if it’s available.
Best Saltwater Engine Flush
You’re going to have a lot of different options if you’re trying to buy a flush kit. With just a short check on Amazon, you’ll see that there are several flushers available at affordable prices. Some of them have thousands of positive reviews, so it’s hard to go wrong with something that’s gotten such a good response.
Some kits are very basic, and others have more parts, so buy something you’ll feel comfortable using. Above all, make sure it’s compatible with your boat!